As of September 2019, many of the management tools that had previously been restricted to the web app have now become available on the scanner.
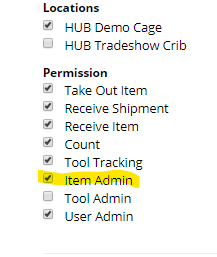
Access to the Administration page on the scanner requires that the user be authorized in the web app to make changes. To make this happen, a manager will go to the Inventory IQ page after logging into their account on www.hubindustrial.com. Select Users from the SETUP menu, which opens up a page listing all the registered users in the IQ system. Find a name of a person you wish to grant management powers to, and select the edit icon on the far right of the user’s name. This will open up the USER DETAILS page. Toward the bottom of this page, check the Item Admin box and then save the record.
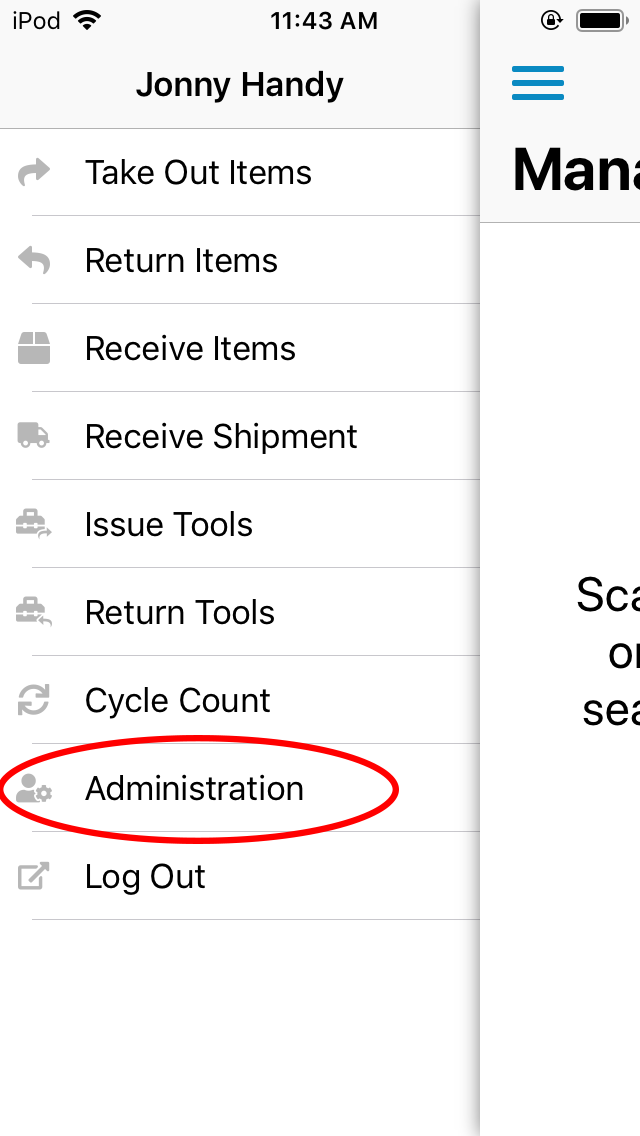
Back in the store room, log into the scanner and open the menu by selecting the 3-parallel-line icon in the upper left corner of the screen. Select Administration from the menu to open the Manage Items menu. To add a new, non-HUB item to the system, touch the “+” icon in the upper right corner of the screen. This will bring up a blank Edit Item form.
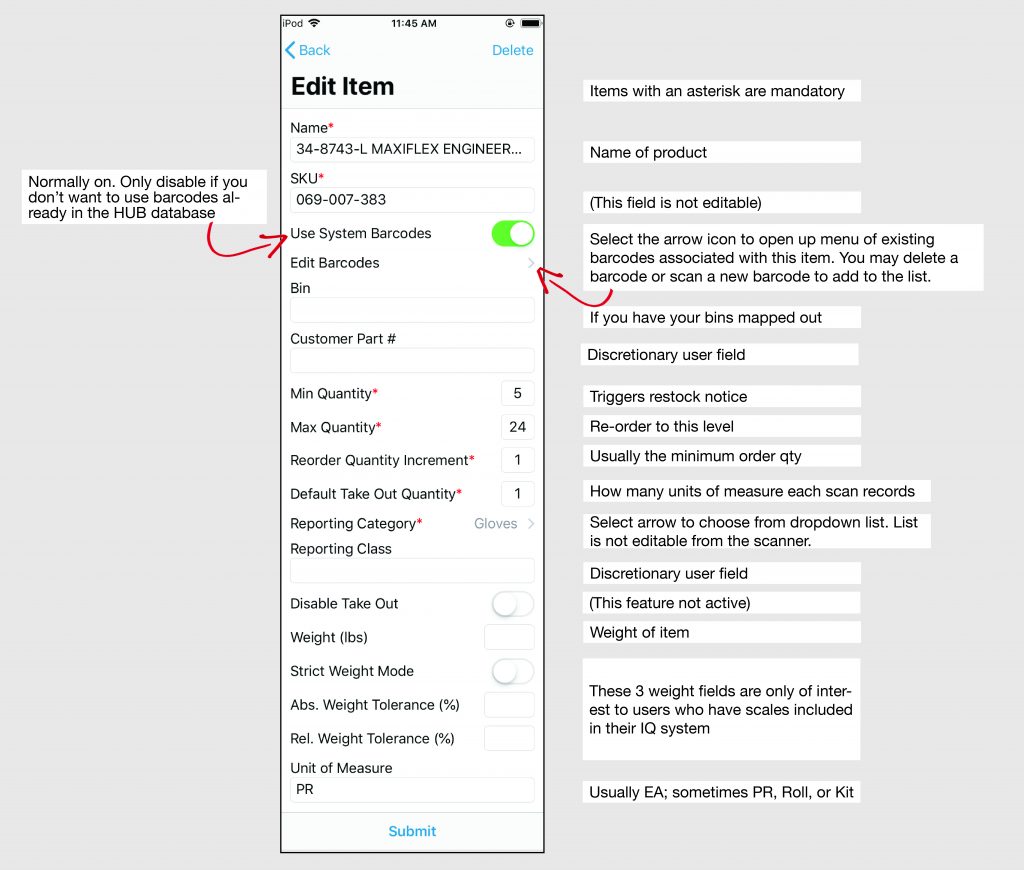
The fields with the asterisks must be filled in to register your new item. When you assign a name to the item, give it a name that will identify the product, such as 2-1/2″ 10-Penny Nail, Zinc Coated. This is editable if you want to revise the name later. For a SKU, you can give it the part no. that your vendor uses. This SKU will not be editable after you save the item.
Next, you will want to assign a unique barcode to the item. If the item is packaged with a barcode on the package, you can scan the barcode on the package to assign this barcode to the product. If there are no pre-existing barcodes, you can type a unique code such as the product SKU in the field that shows up after you touch the “+” icon in the upper right corner of the screen.
Fill in the other required fields, including the Reporting Category from the drop-down menu that comes up when you touch the “>” icon. If you want to assign the item to a reporting category that doesn’t already exist, you will have to first create it using the desktop app and come back later to assign it. After you have filled in any other fields you wish to record, hit Submit at the bottom, and you are ready to receive in the item you just set up.