If you have an asset you want to track, you must first set it up using the following procedure:
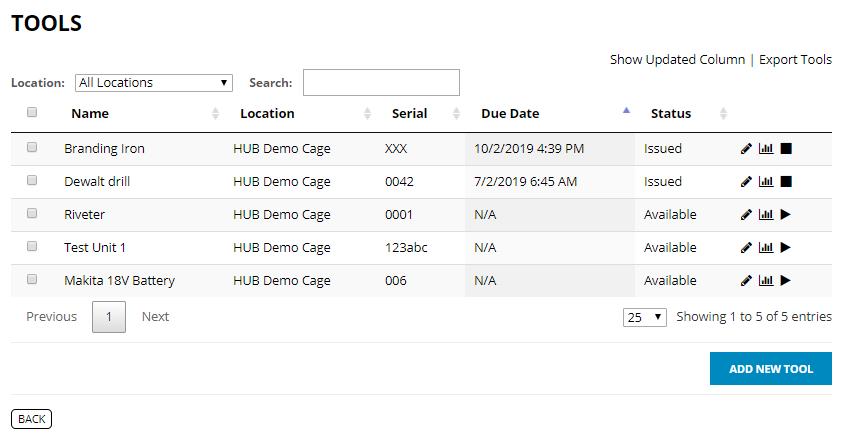
Go to TOOLS in the Inventory IQ app on your desktop.
Click on ADD NEW TOOL button at bottom of the page.
At minimum, you must fill in the fields marked with an asterisk.
| Location* | If you have more than one store room, the room where the tool will be located |
| Name* | Name of the tool (does not have to be unique) |
| Serial* | Unique alphanumeric assigned to tool |
| Barcode* | Unique designation (may be the same as serial code above). If you are using your own label, use the text from the barcode on the label. |
| Bin | Optional address where tool will be located |
| Supplier Code | Optional information of where tool was sourced |
| Image | Option to upload image file that will depict the tool on the scanner and on the barcode label |
| Due Back in Hours | Option to limit the permitted time before tool must be returned, expressed in hours. Exceeding time limit can trigger emails sent to supervisors using the EVENT SUBSCRIPTIONS feature |
| Weight and Weight Tolerance | These options apply if your system is equipped with load cells. These fields are not relevant to most users. |
After you have filled in the fields to your satisfaction, select SAVE
Printing Bar Code Labels:
On the TOOLS page, there are check boxes to the left of every tool listed. You can check the box at the top of the column to automatically select all boxes, or just check the tools you need labels for. Once you start checking boxes, two buttons appear. Select the button that says PRINT LABELS to download a PDF file of the labels.
Open up this PDF file and sent to print on AVERY 8160 self-adhesive address labels or equivalent.
For more information about the Issue Tool feature, see part 1 of this tutorial.